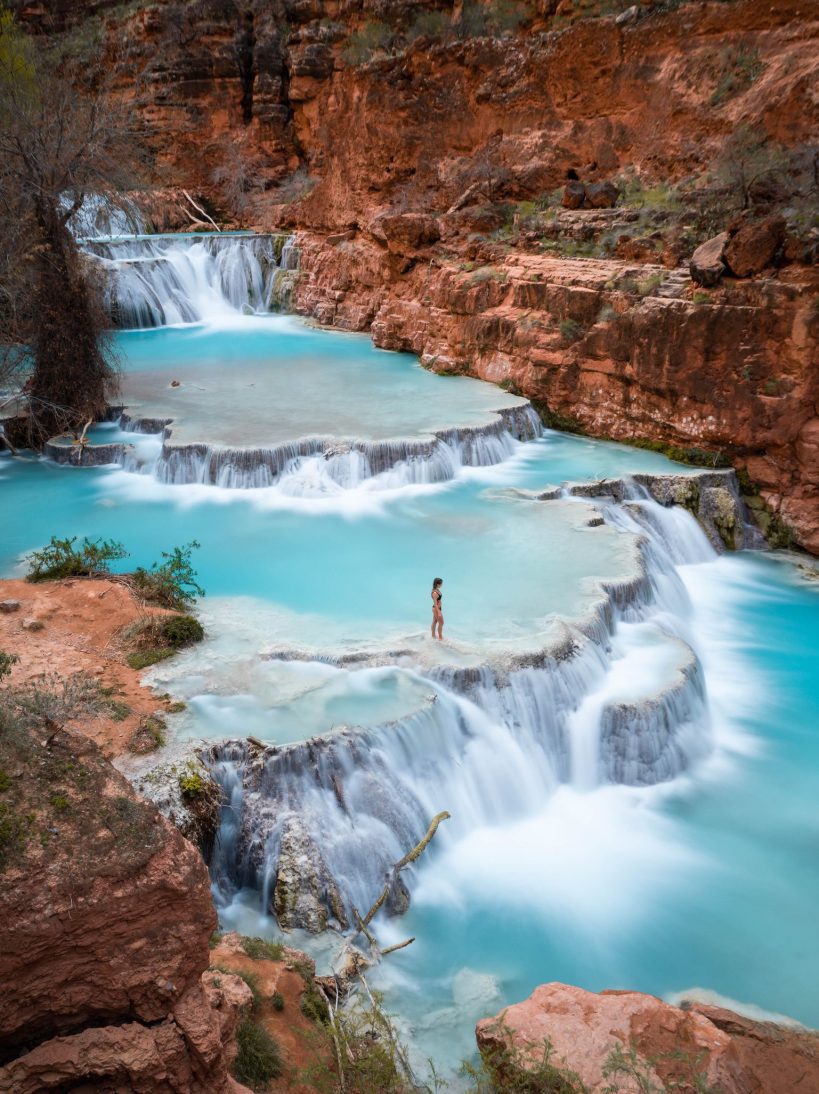
The Havasupai falls hike, is a 22-mile adventure that should be on every backpacker’s bucket list. Located deep within Arizona’s Indian reservation land (and only accessible to those with a permit), the trail boasts dreamy turquoise waterscapes unlike anywhere else in the nation.
Location: Havasupai Indian Reservation
Trailhead: Hualapai Hilltop Parking Lot
Distance: 22 miles, out and back
Elevation Gain: Roughly 2500 feet
Popularity: Very high, there will be 375 campers present per night at the campground
When to go: Peak season is from March-October
Camping: Tent or hammock camping at Havasupai campground
Toilets: Composting toilets available at the trailhead and at Havasupai campground
Parking: Free at Hualapai Hilltop parking lot as well the road leading up to it if full
Dogs: Not allowed
Cost: Permits are 300-375$ per person
Animals: Squirrels, bighorn sheep, mules, horses, cattle
As mentioned earlier, you MUST have a permit to do the Havasupai falls hike as no day hiking is allowed. This was implemented as a safety measure due to the nature of the challenging and lengthy 11 mile hike each way.
(Also note: As of 2019, there is a minimum stay of 3 nights for each permit)
The cost of a permit is 100$/per person on weeknights (Monday-Thursday) and 125$/per person on weekends (Friday-Sunday). All permits span 4 days and 3 nights, meaning you do not have the option to choose anything shorter for a cheaper price. In total, you will be spending 300-375$ per person per permit.
In order to obtain a Havasupai falls hike permit you must create an account on the Havasupai reservations page. Be sure to do this well before the permits are released on February 1st, 8 a.m. MST because the site often crashes the day of permit release.
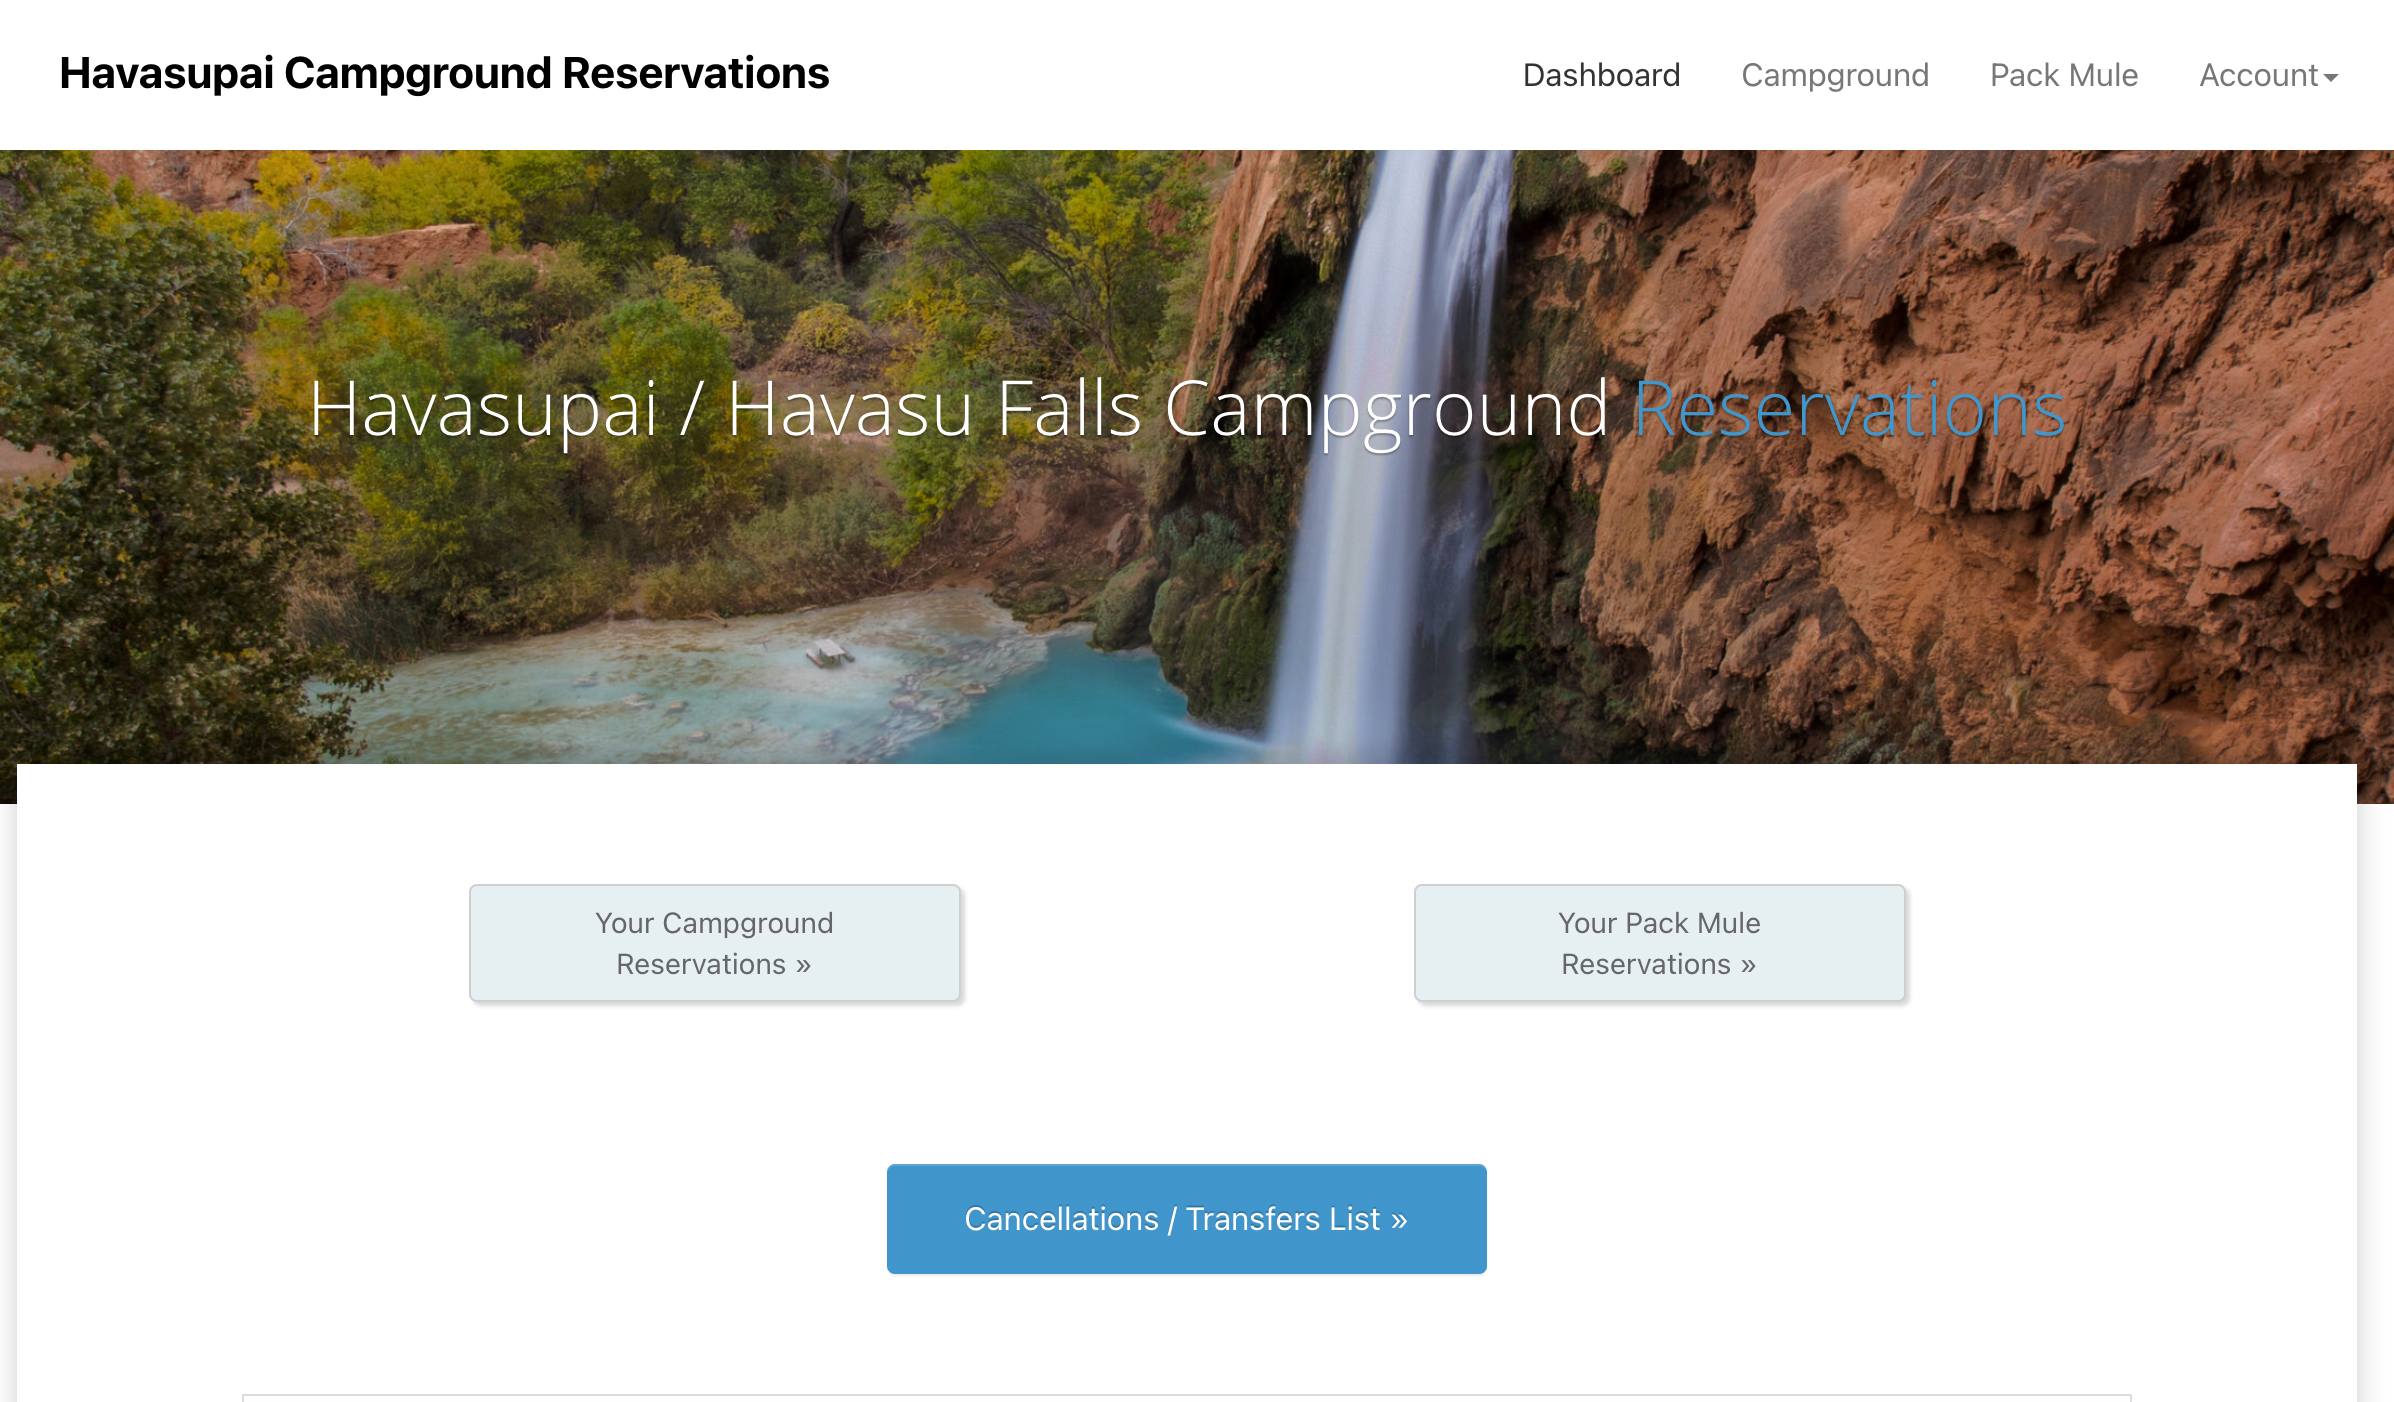
Havasupai falls campground permit/reservation site
I had logged into my account 15 minutes before the permit release and pre-selected the dates I was hoping to travel to Havasupai (May). Once 8 a.m. hit, I pressed the submit button instantly. I then watched the page try to re-load for 10 minutes before telling me that the dates I had selected were already full. Quickly, I skimmed over the calendar and picked the only open dates remaining which were in February of the following year. Within 20 minutes of the permits being released, the entire year was sold out.
Once you’ve secured your permits, it’s time to plan for your Havasupai trip! If you’re coming from out of state, you’ll have the choice of flying into Las Vegas McCarren International Airport or Phoenix Sky Harbor International Airport. The drive from the airport to the trailhead will take approximately 4 or 4.5 hours respectively.
Set your GPS destination to “Hualapai Hilltop” which will bring you to the trailhead parking lot.
Hualapai Hilltop trailhead parking lot
The majority of the drive to Hualapai Hilltop is spent on the freeway. You do not need a 4×4 or AWD vehicle to make this drive, so feel free to choose a smaller rental car and save money!
Note: Before making your last turn onto Indian Road 18, check to see if you have enough gas to get you roughly 150-200 miles. There are no gas stations once you make this turn and you want to be sure you have enough for the trip back out.
When you get within a mile of Hualapai Hilltop, you will start noticing cars parked on the side of the road. Drive all the way up and circle the parking lot to check for empty spaces before taking one on the side of the road. This can potentially save you an extra mile of hiking each way!
Also, keep in mind that this parking lot has compostable bathrooms but no running water, so you will not be able to fill up on any drinking water once you get to the trail head.
Since our reservation for Havasupai spanned Friday through Monday, we decided to fly into Phoenix, Arizona the Thursday before our reservation began. After a quick dinner and gas stop, we headed out on the 6 hour drive to the trailhead.
We arrived to Hualapai Hilltop at approximately 1 a.m., leaned our seats back and attempted to sleep before starting the hike at sunrise. (Retrospectively, attempting to sleep in a rental sedan the night before an 11 mile hike was a terrible idea. We grew increasingly cold and eventually had to break out our sleeping bags just to get comfortable. Would not recommend!)
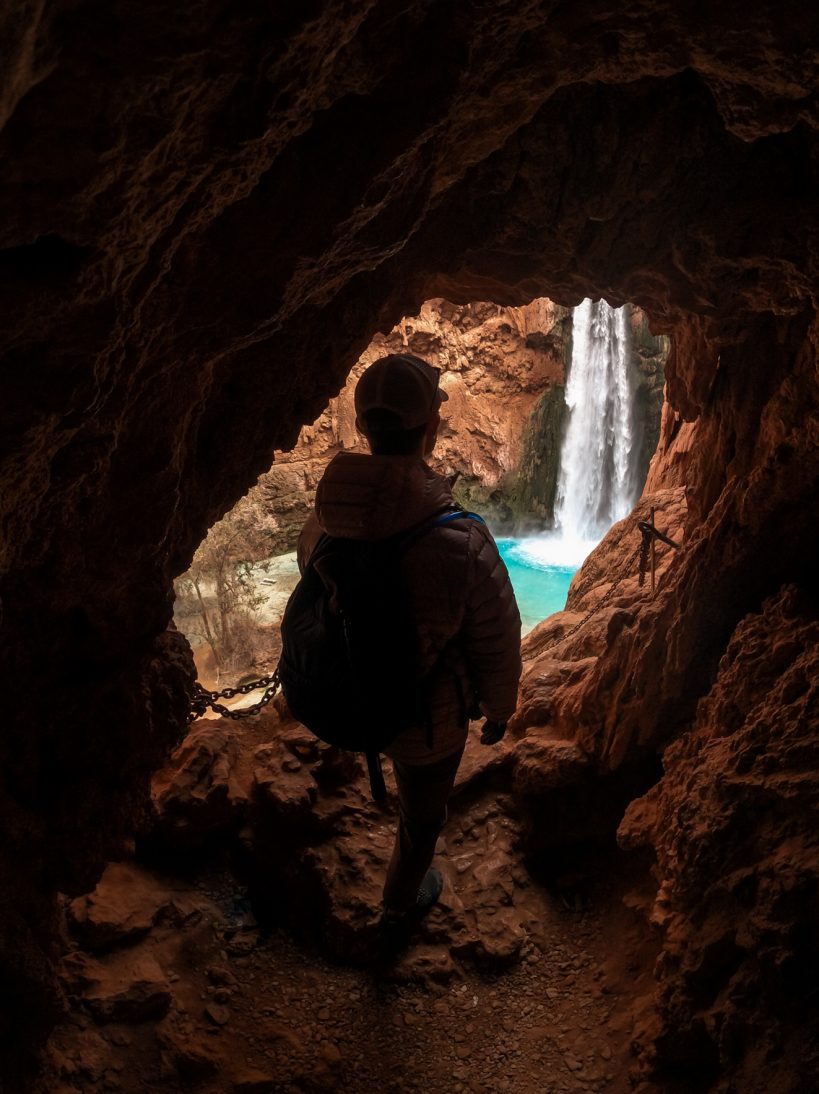
At 5 a.m. our iphone alarms sounded and we groggily rose to a dark, frigid morning. Guided by our headlamps, we ate a quick trail mix breakfast, visited the compostable bathrooms and made some final adjustments to our packs.
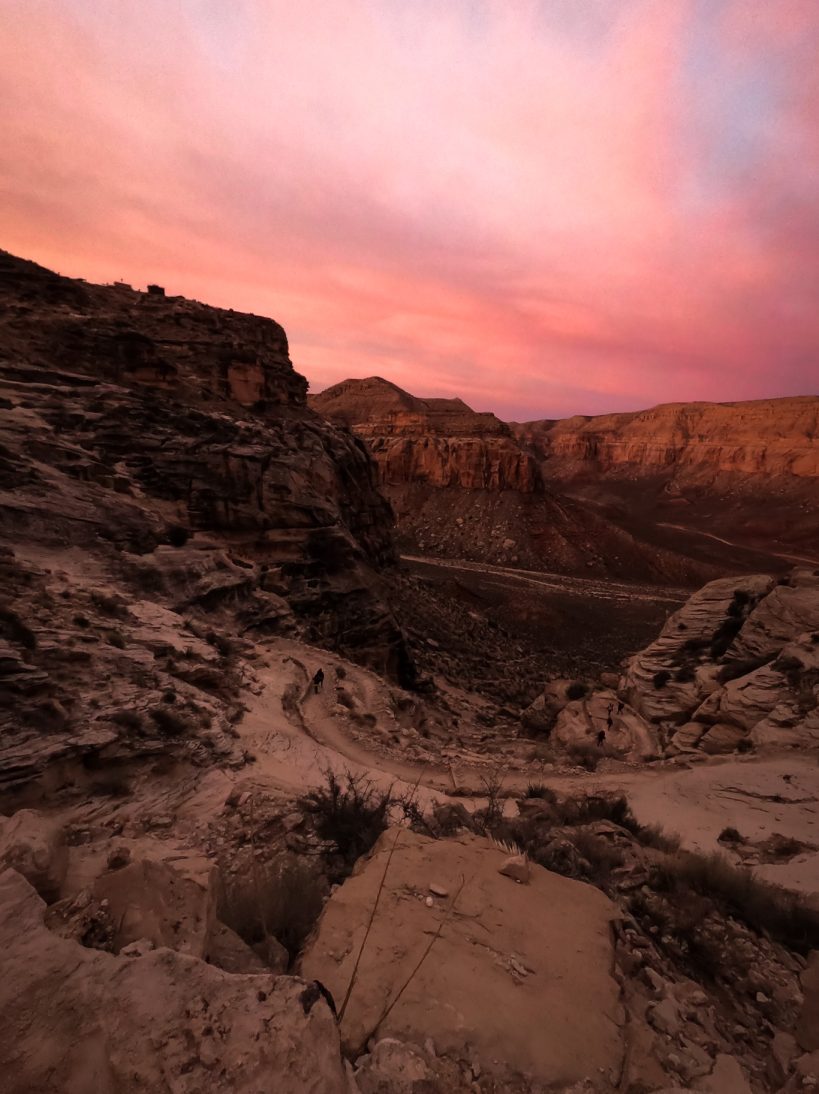
Sunrise at the Havasupai Falls Hike trailhead
At 6 a.m. we hit the trail, just as the sun started to illuminate the golden walls of the canyon. Suddenly, our early morning delirium morphed into excitement. Our journey had begun.
Descent into the canyon
For the most part, the Havasupai falls hike was very easy to navigate with wide paths and the majority of the steep decline knocked out within the first two miles.
At approximately 8 miles, we hit Supai Village, where we were required to check-in and present our permits/online reservations. The staff also asked for our license plate number and a picture ID, so make sure to have both. Once confirmed, we were given wristbands, which we were required to wear throughout the entirety of our stay in Havasupai.
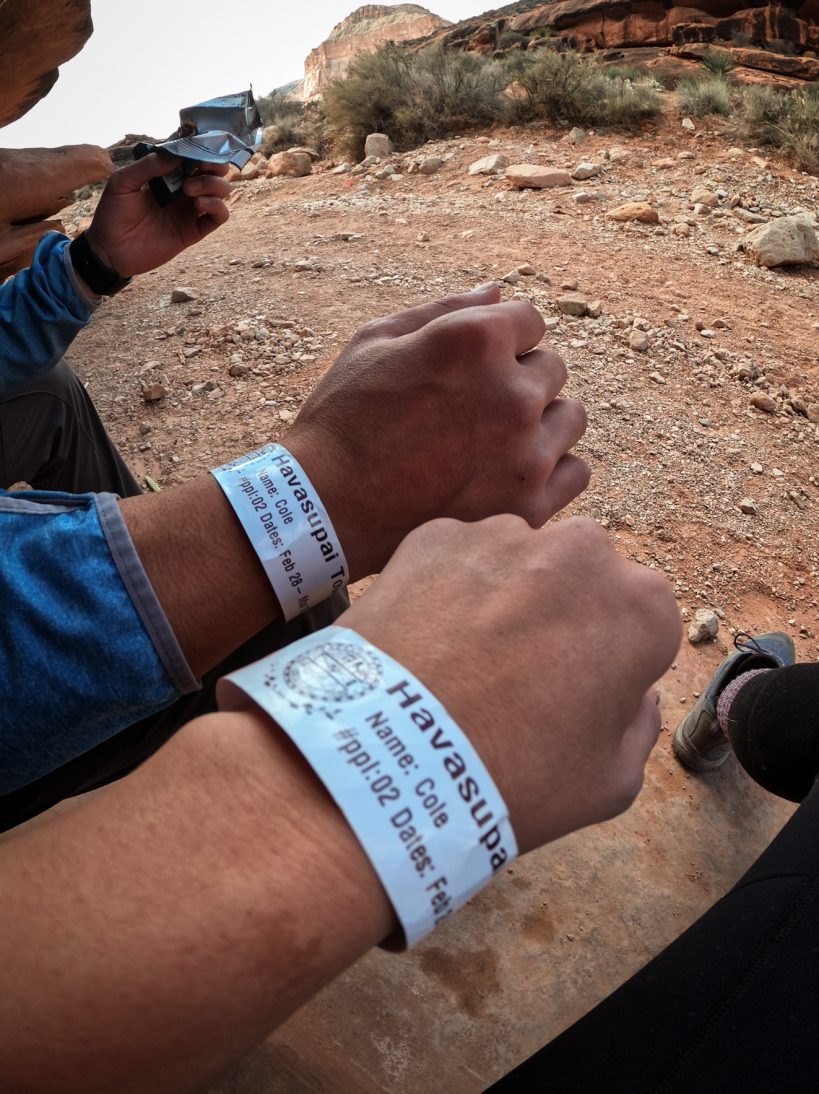
Required wristbands to continue to Havasupai Falls
Although you’ll be tired at this point, these last couple miles are the prettiest of the hike. Each turn along the river will heighten your anticipation, until finally… you hear the roar of the 100 foot waterfall.
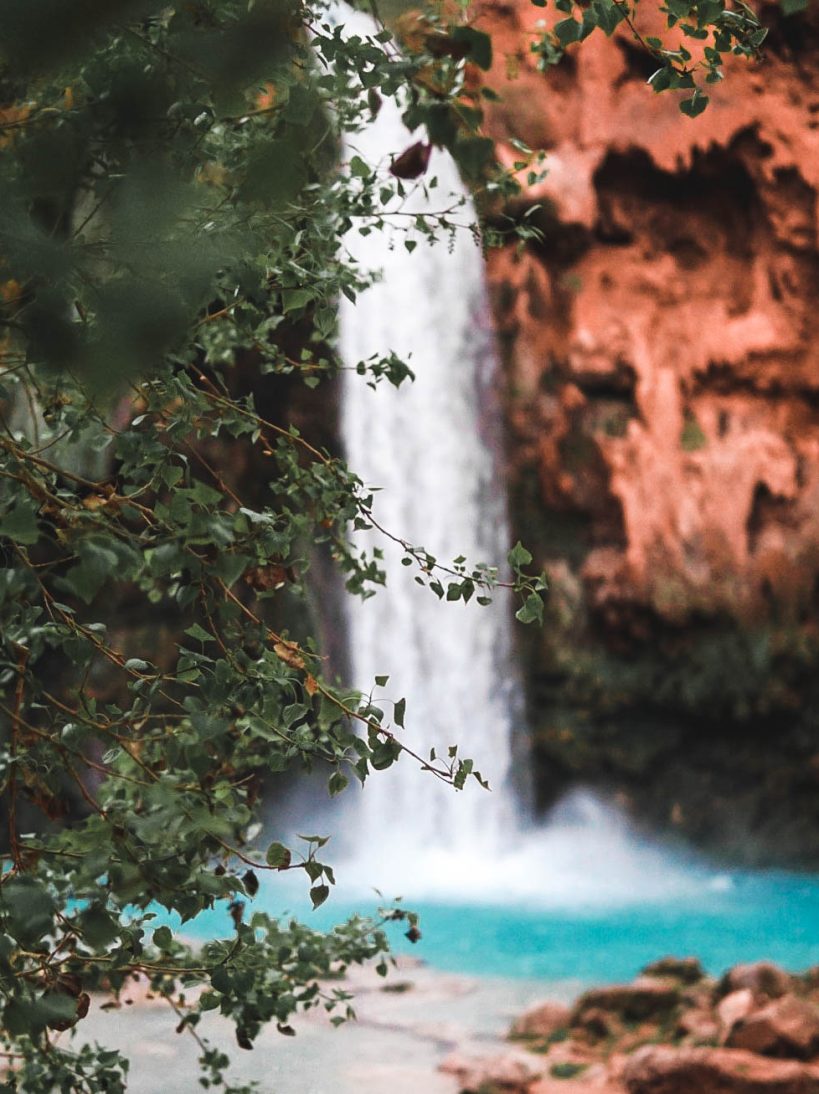
Havasupai Falls
We stood mesmerized for a couple minutes before continuing down the trail to the campgrounds.
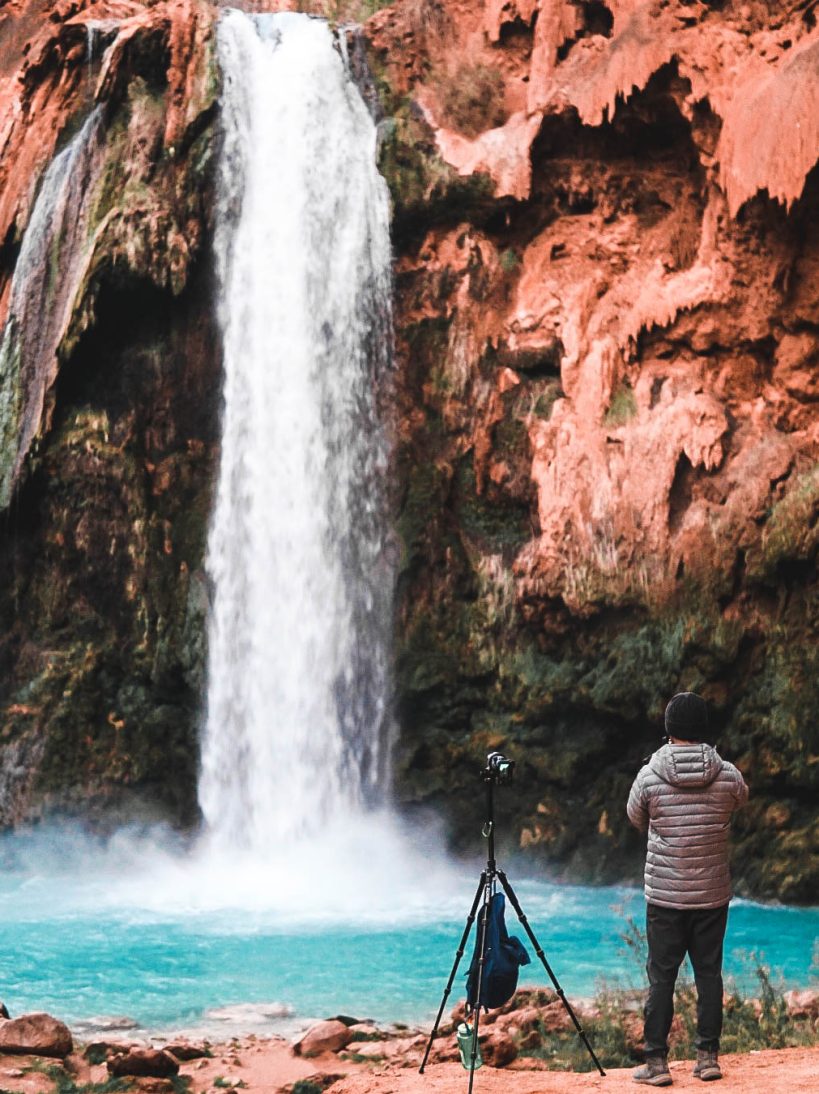
After you hit Havasupai Falls, you will still have about 10-15 minutes of hiking left before you get to Havasupai campground. The campground is a mile long, so there are quite a few different sites to choose from.
If you pick a site close to the entrance, you will be closer to the drinking water spigot, as well as Havasupai Falls. If you pick a site farther back, you will be closer to the trailhead of the other the day hikes in the canyon (Mooney and Beaver Falls), but farther from the drinking water spigot.

Our tent set up at Havasupai campground
After settling in, we grinded some food, cozied up in our sleeping bags and drifted off to what would be a 10-hour night sleep.
The next morning with water shoes on and cameras in hand, we set out around 10 a.m. for Mooney falls.
To get to Mooney Falls, walk to the far side of the Havasupai campground where you will find signage for the different trails in the area. Mooney falls is a quick half mile route, with amazing views almost instantly after starting.

First glimpse of Mooney Falls
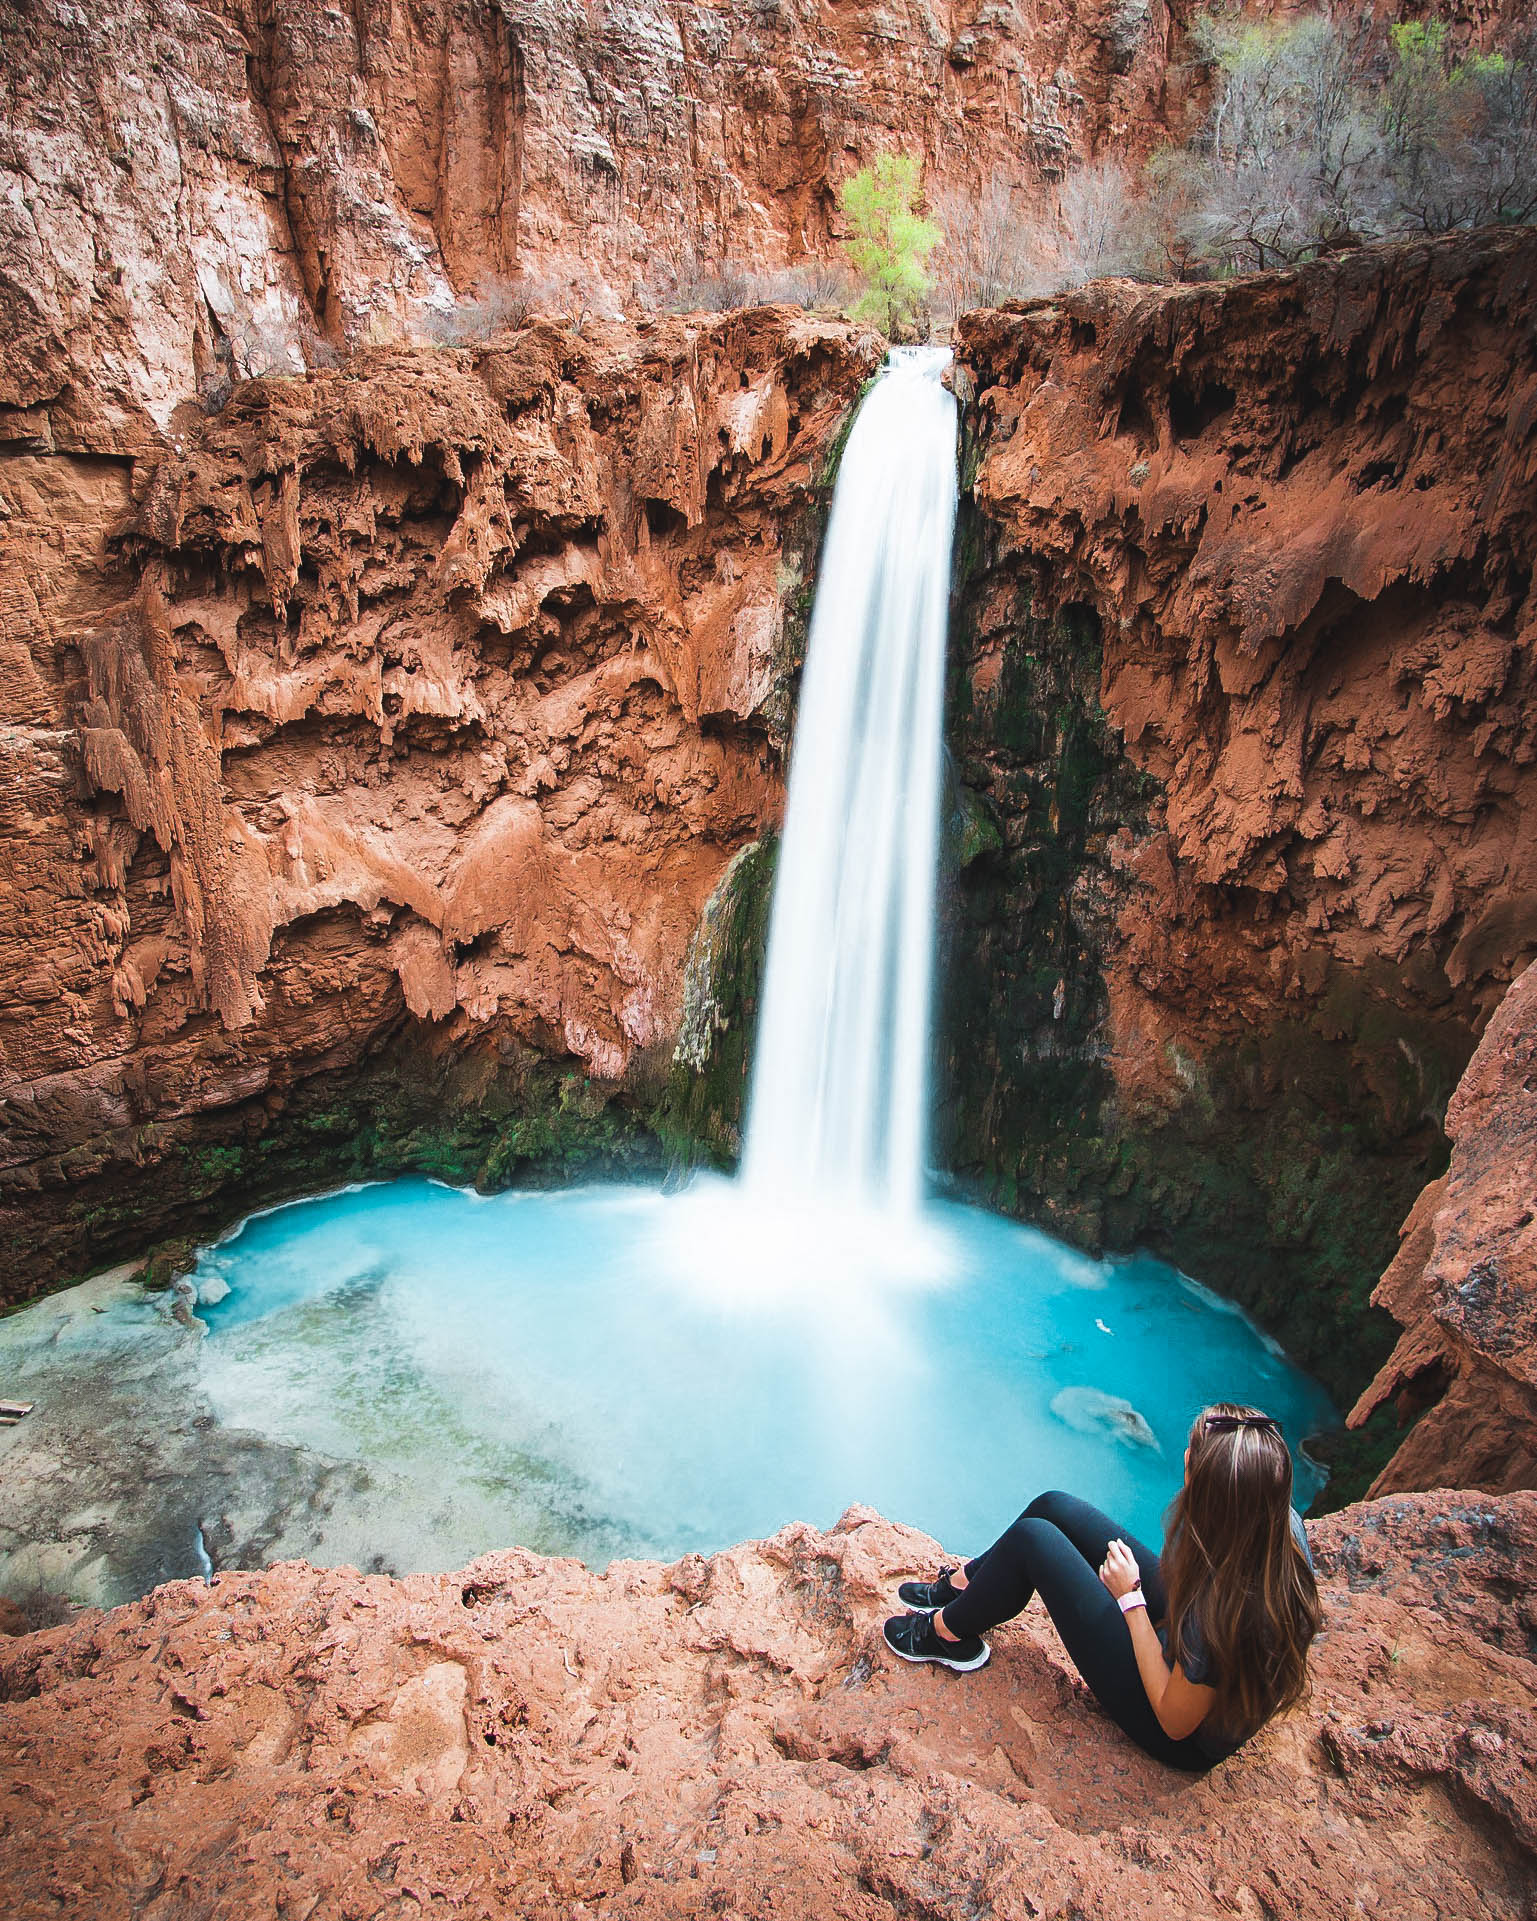
After only 5 minutes, we found ourselves stopped over on a ledge, admiring the 190-foot drop from above.
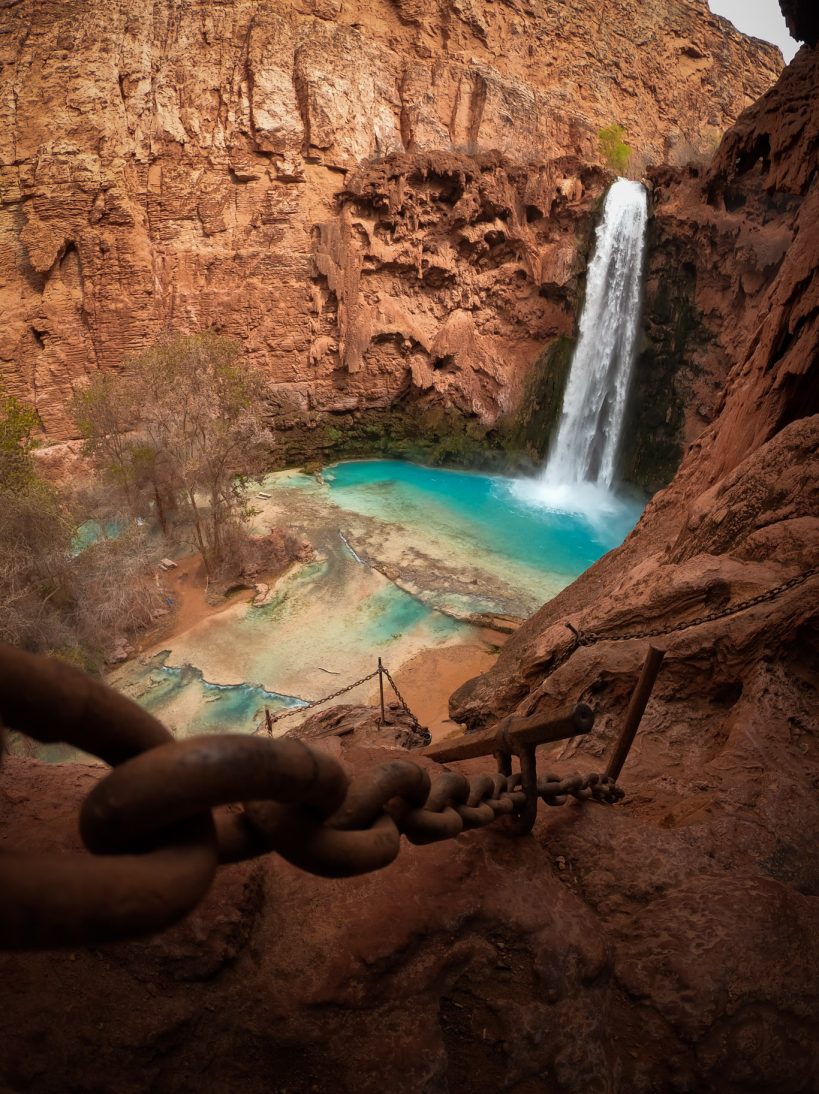
Descent down to the base of Mooney Falls
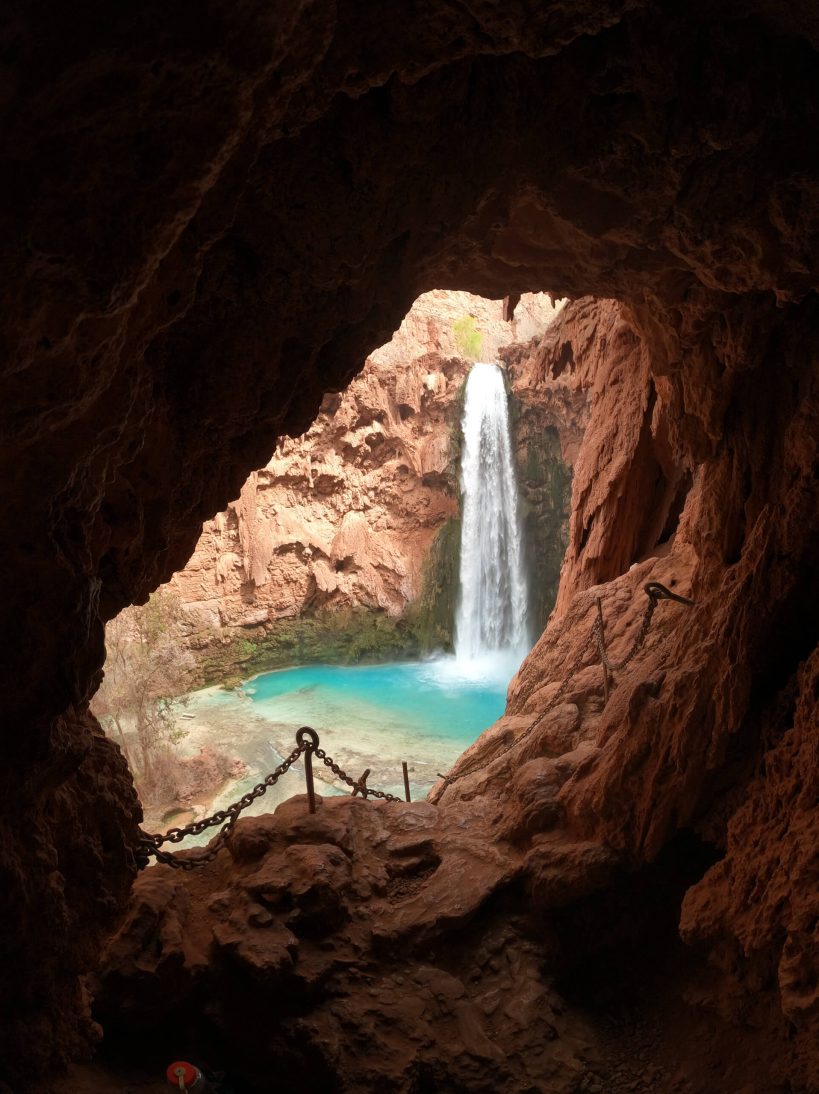
Continuing on, we soon found ourselves scaling down the cliffside around the falls, using chain-links as guides, to help us through tunnels and ladders.
Use caution through this part of the hike and take as much time as you need going down to avoid injury. Although the trail was fairly empty when we went in February, I’ve heard it gets very very backed up in the summer.
Mooney Falls
Once at the base of Mooney Falls, drenched in mist, you’ll truly appreciate the magnitude of this waterfall.
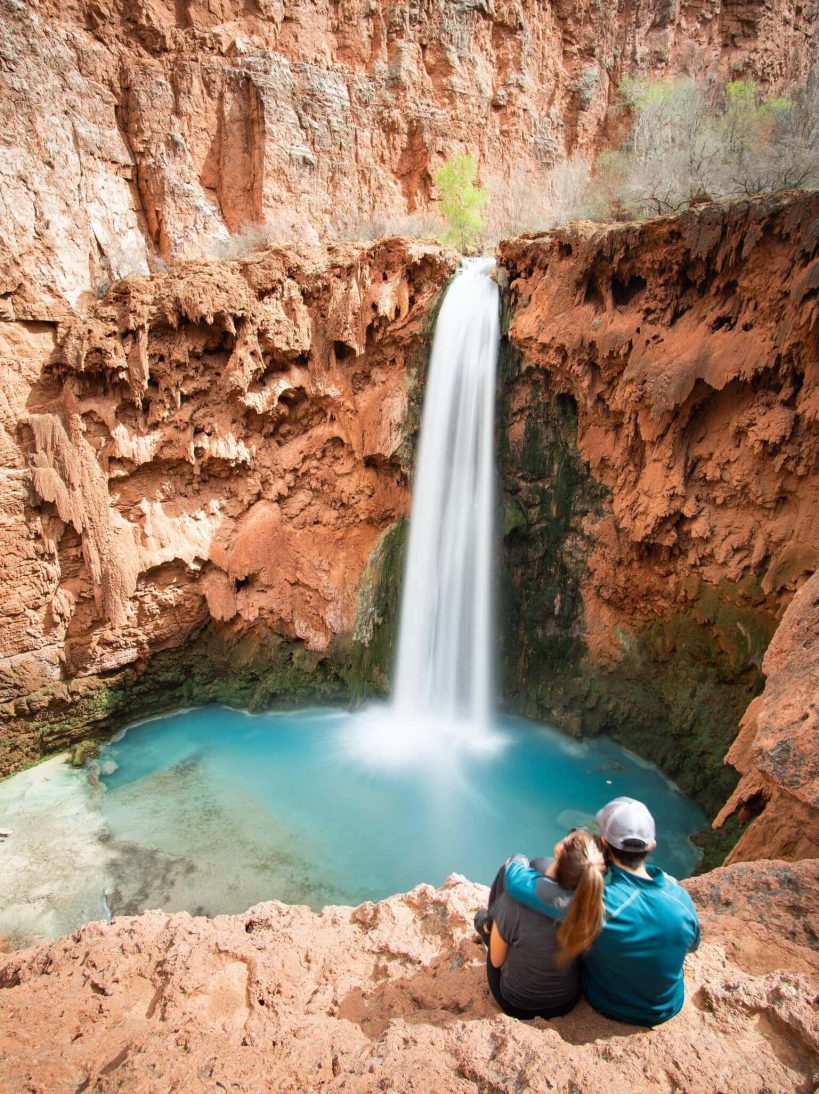
We spent a few hours at Mooney Falls and then hiked back up to our campsite before sunset. Once back, we fired up our Jet Boil for a hot meal, which was perfect as the temperature started to drop.
Knowing we wanted to shoot the night sky, we snuggled into our sleeping bags a bit early, and decided to lay down for a couple hours.
Havasupai Falls at Night
When we woke at 2 a.m., we peeked out of our tent to check the weather. We were greeted by a clear sky decorated with thousands of glistening stars. Re-energized and excited, we bundled up and set out on the quick hike from our campsite to Havasupai Falls, about 15 minutes away.
To our delight, we were the only two people out at this time of night and we spent hours shooting under the glow of the galaxy. It felt surreal to have such a magical place all to ourselves.
Beaver Falls Trail
The next morning we set out on the 2.5 mile trek to Beaver Falls. The Beaver Falls trail follows the same trail as Mooney Falls, but continues on for an additional mile and a half. In addition to the extra milage, the Beaver Falls trail includes multiple thigh-high river crossings. Therefore, make sure you’re prepared by wearing clothes that can get wet, water shoes, and keeping any valuables in dry bags.
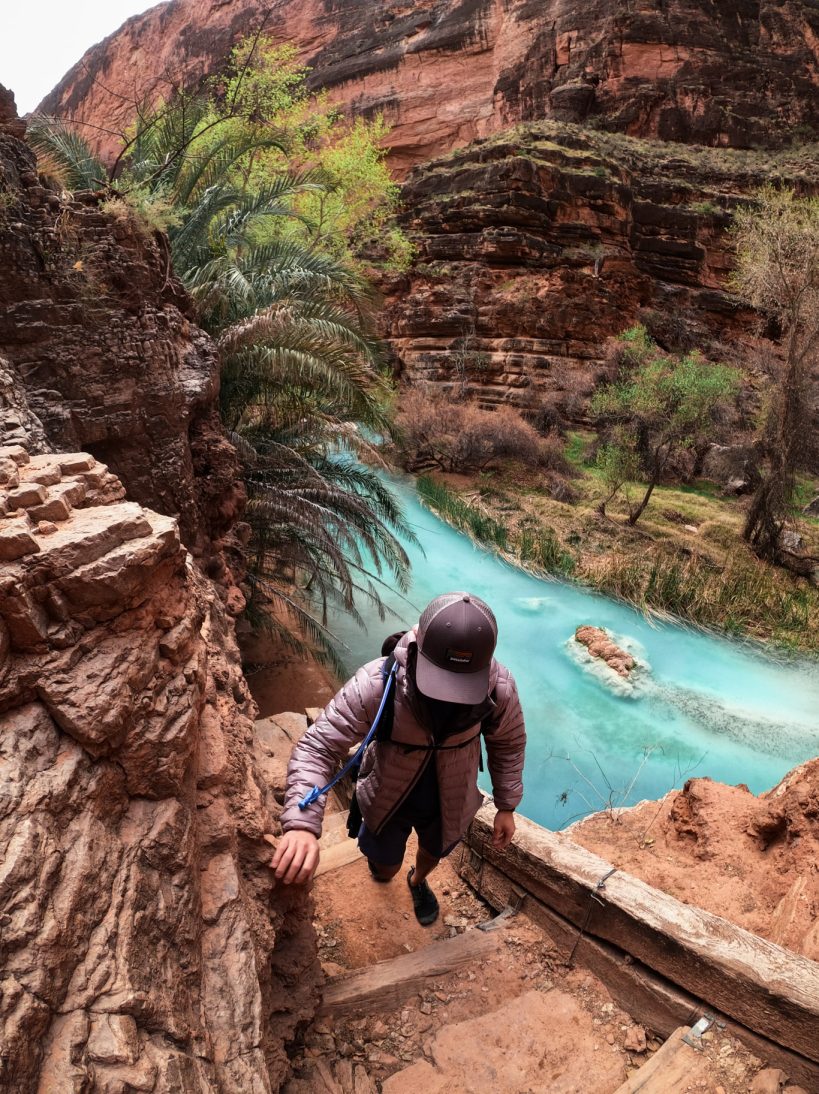
Hiking along the turquoise water to Beaver falls
The final descent down into beaver falls genuinely took my breath away. The layered waterfall tiers, gleaming under the sun’s afternoon rays was a sight I will never forget.
After spending the day at Beaver Falls, we hiked back to camp just before sunset. Famished, we devoured some spicy free dried bibimbap before crawling into our sleeping bags.
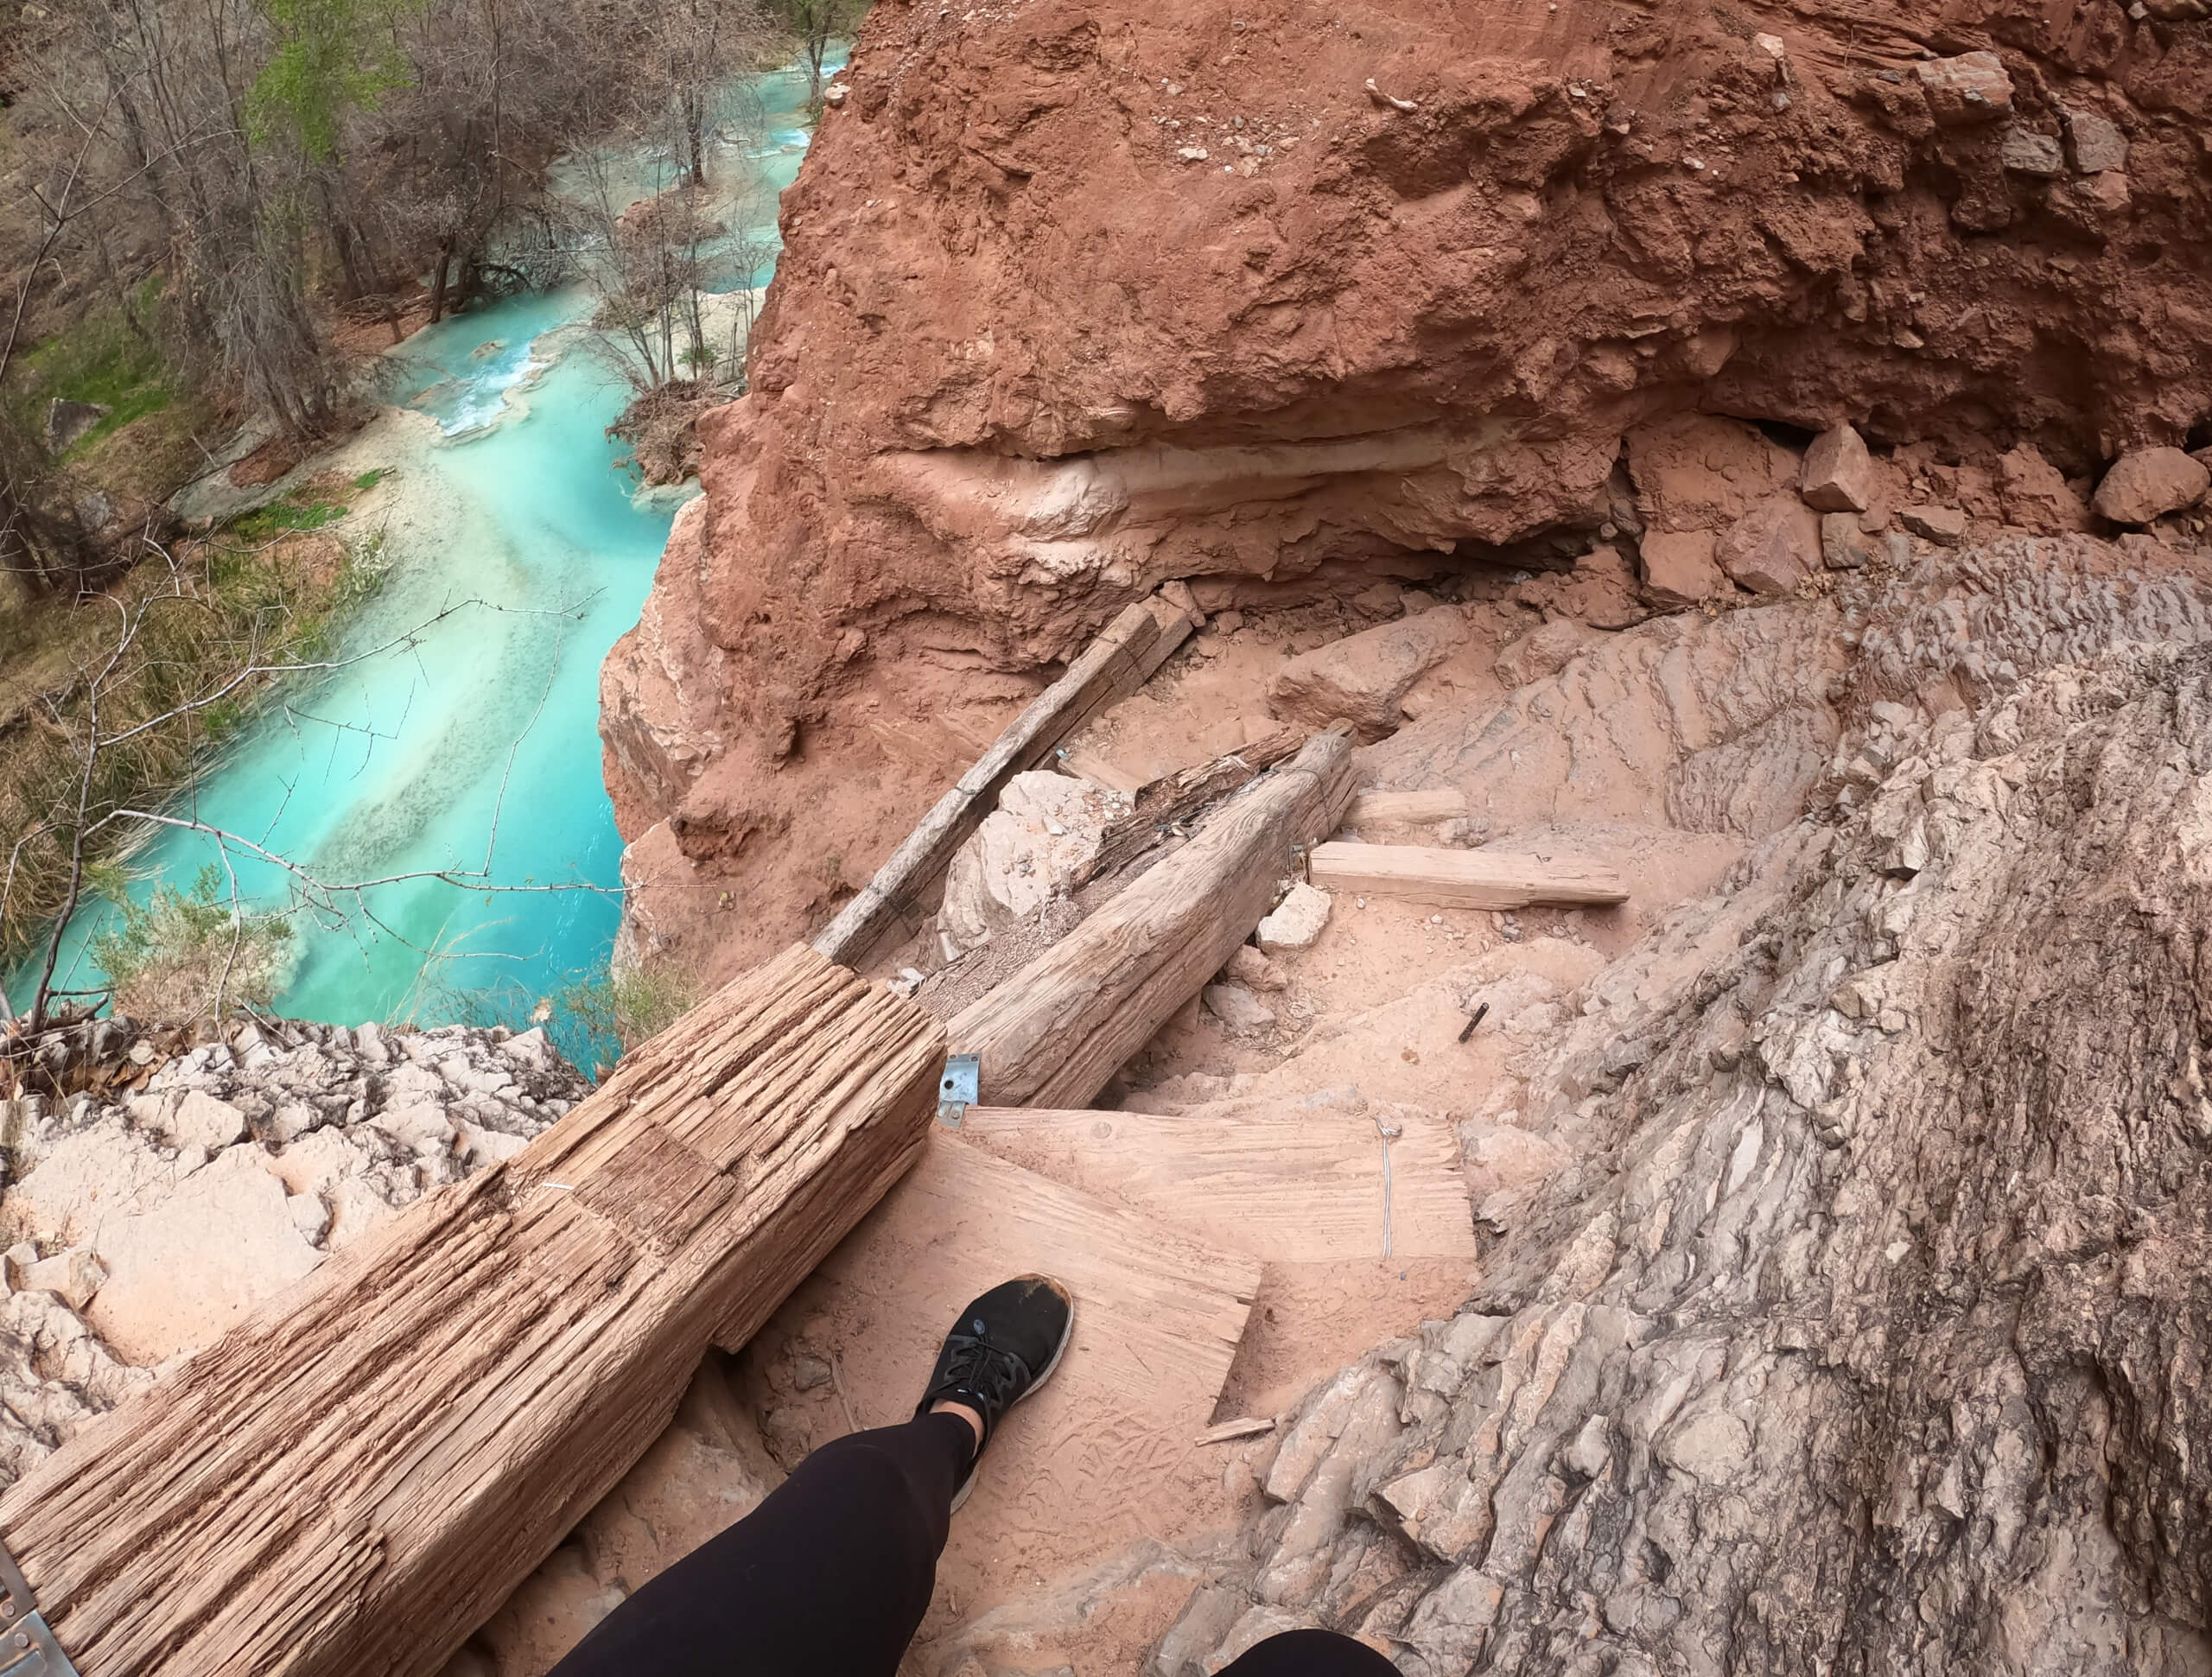
We woke early to break down camp, and repack our bags before the 11 mile trek back out of the canyon. Starting around 9 am, the journey out took us 5 hours, and we were back at our car around 2 pm.
Whenever you can get a permit! If you are able to chose, late fall or early spring ideal due to the cooler temperatures.
Our permits spanned February 28 – March 1, and although February was not our first choice when booking, we ended up being very happy with the cooler temperatures and smaller crowds that the off-season brought.
Try to stay in the Peach Springs, Arizona area so that you are a short 90 minutes from the trailhead.
On average it takes hikers 4-7 hours to hike in (all downhill) and 5-8 hours to hike out (all uphill). Plan accordingly!

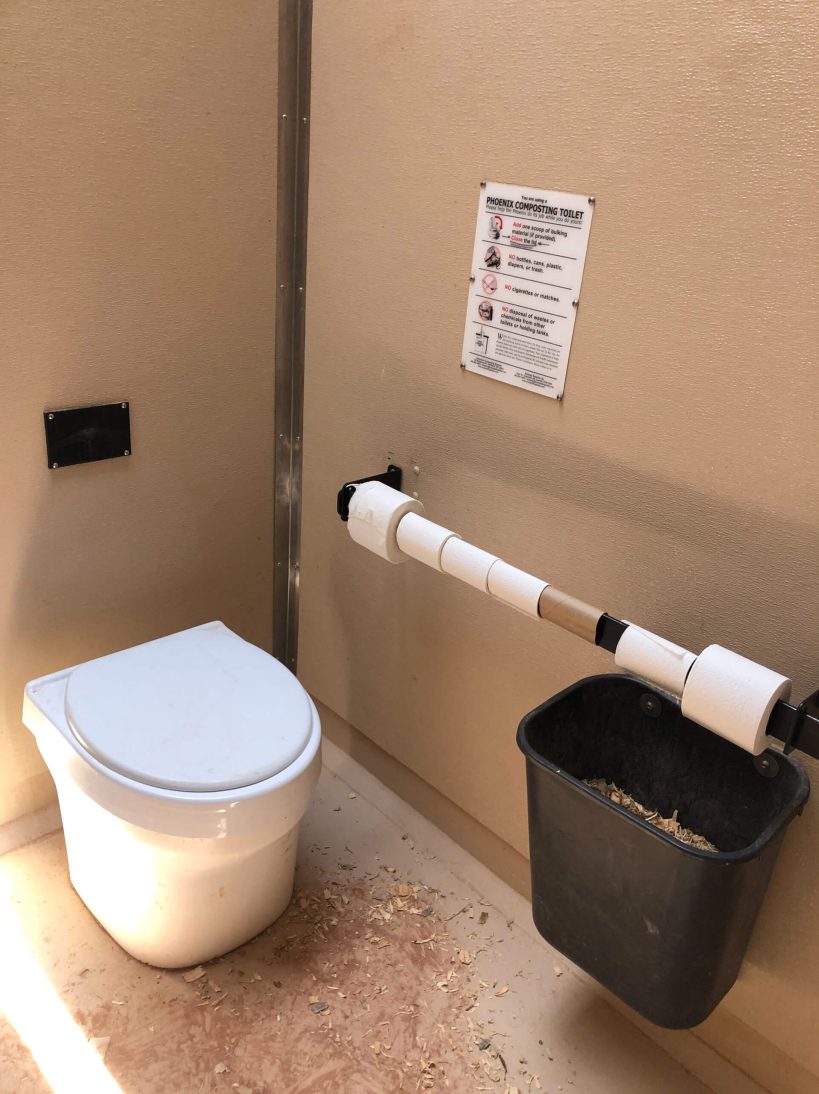
Bathroom at Havasupai Campground
There is a water spigot and bathrooms at the Havasupai campground as well as at Havasupai Village (mile 8 of 11). Other than that, there are not water/bathroom facilities along the trail.
Yes, but the water can be pretty cold depending on the time of year!
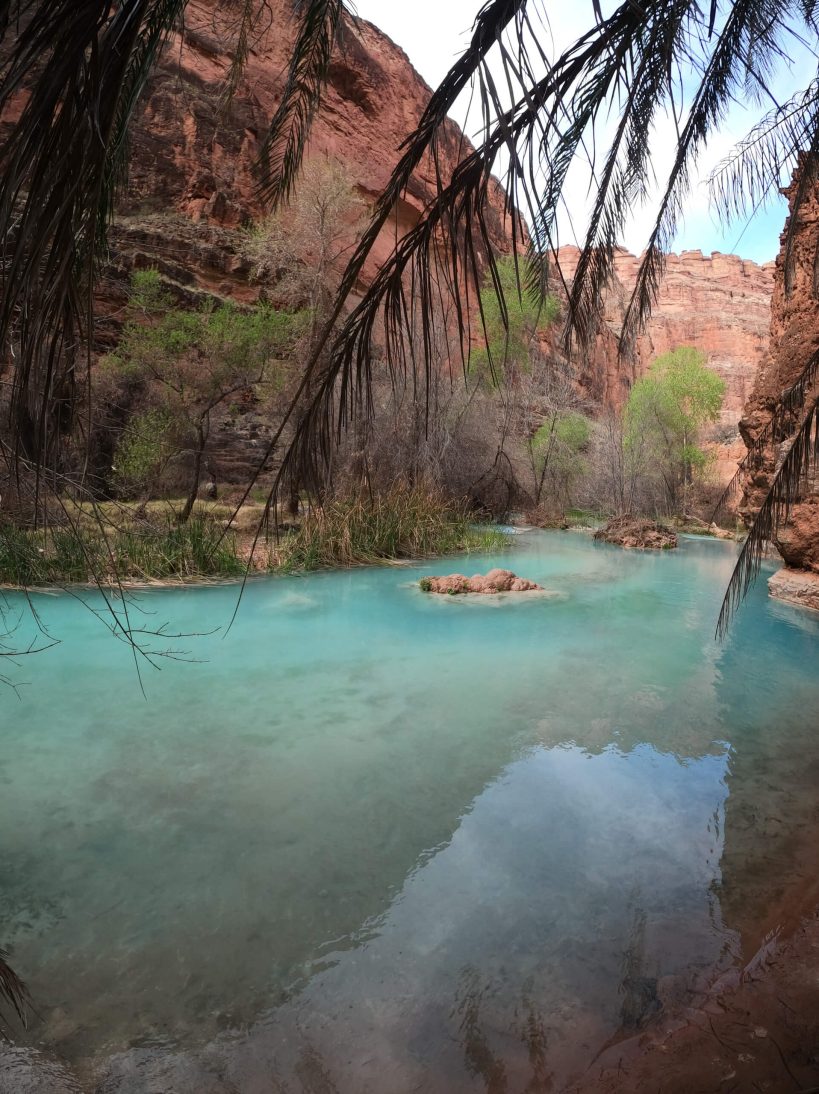
Yes, we learned the water gets its blue-green color from large amounts of calcium carbonate!
Post photos were taken in Collaboration with Matt Tonokawa.
Is the Havasupai falls hike on your bucket list or have you visited recently? I’d love to know in the comments below!
No Comments